
Letterpress Printing
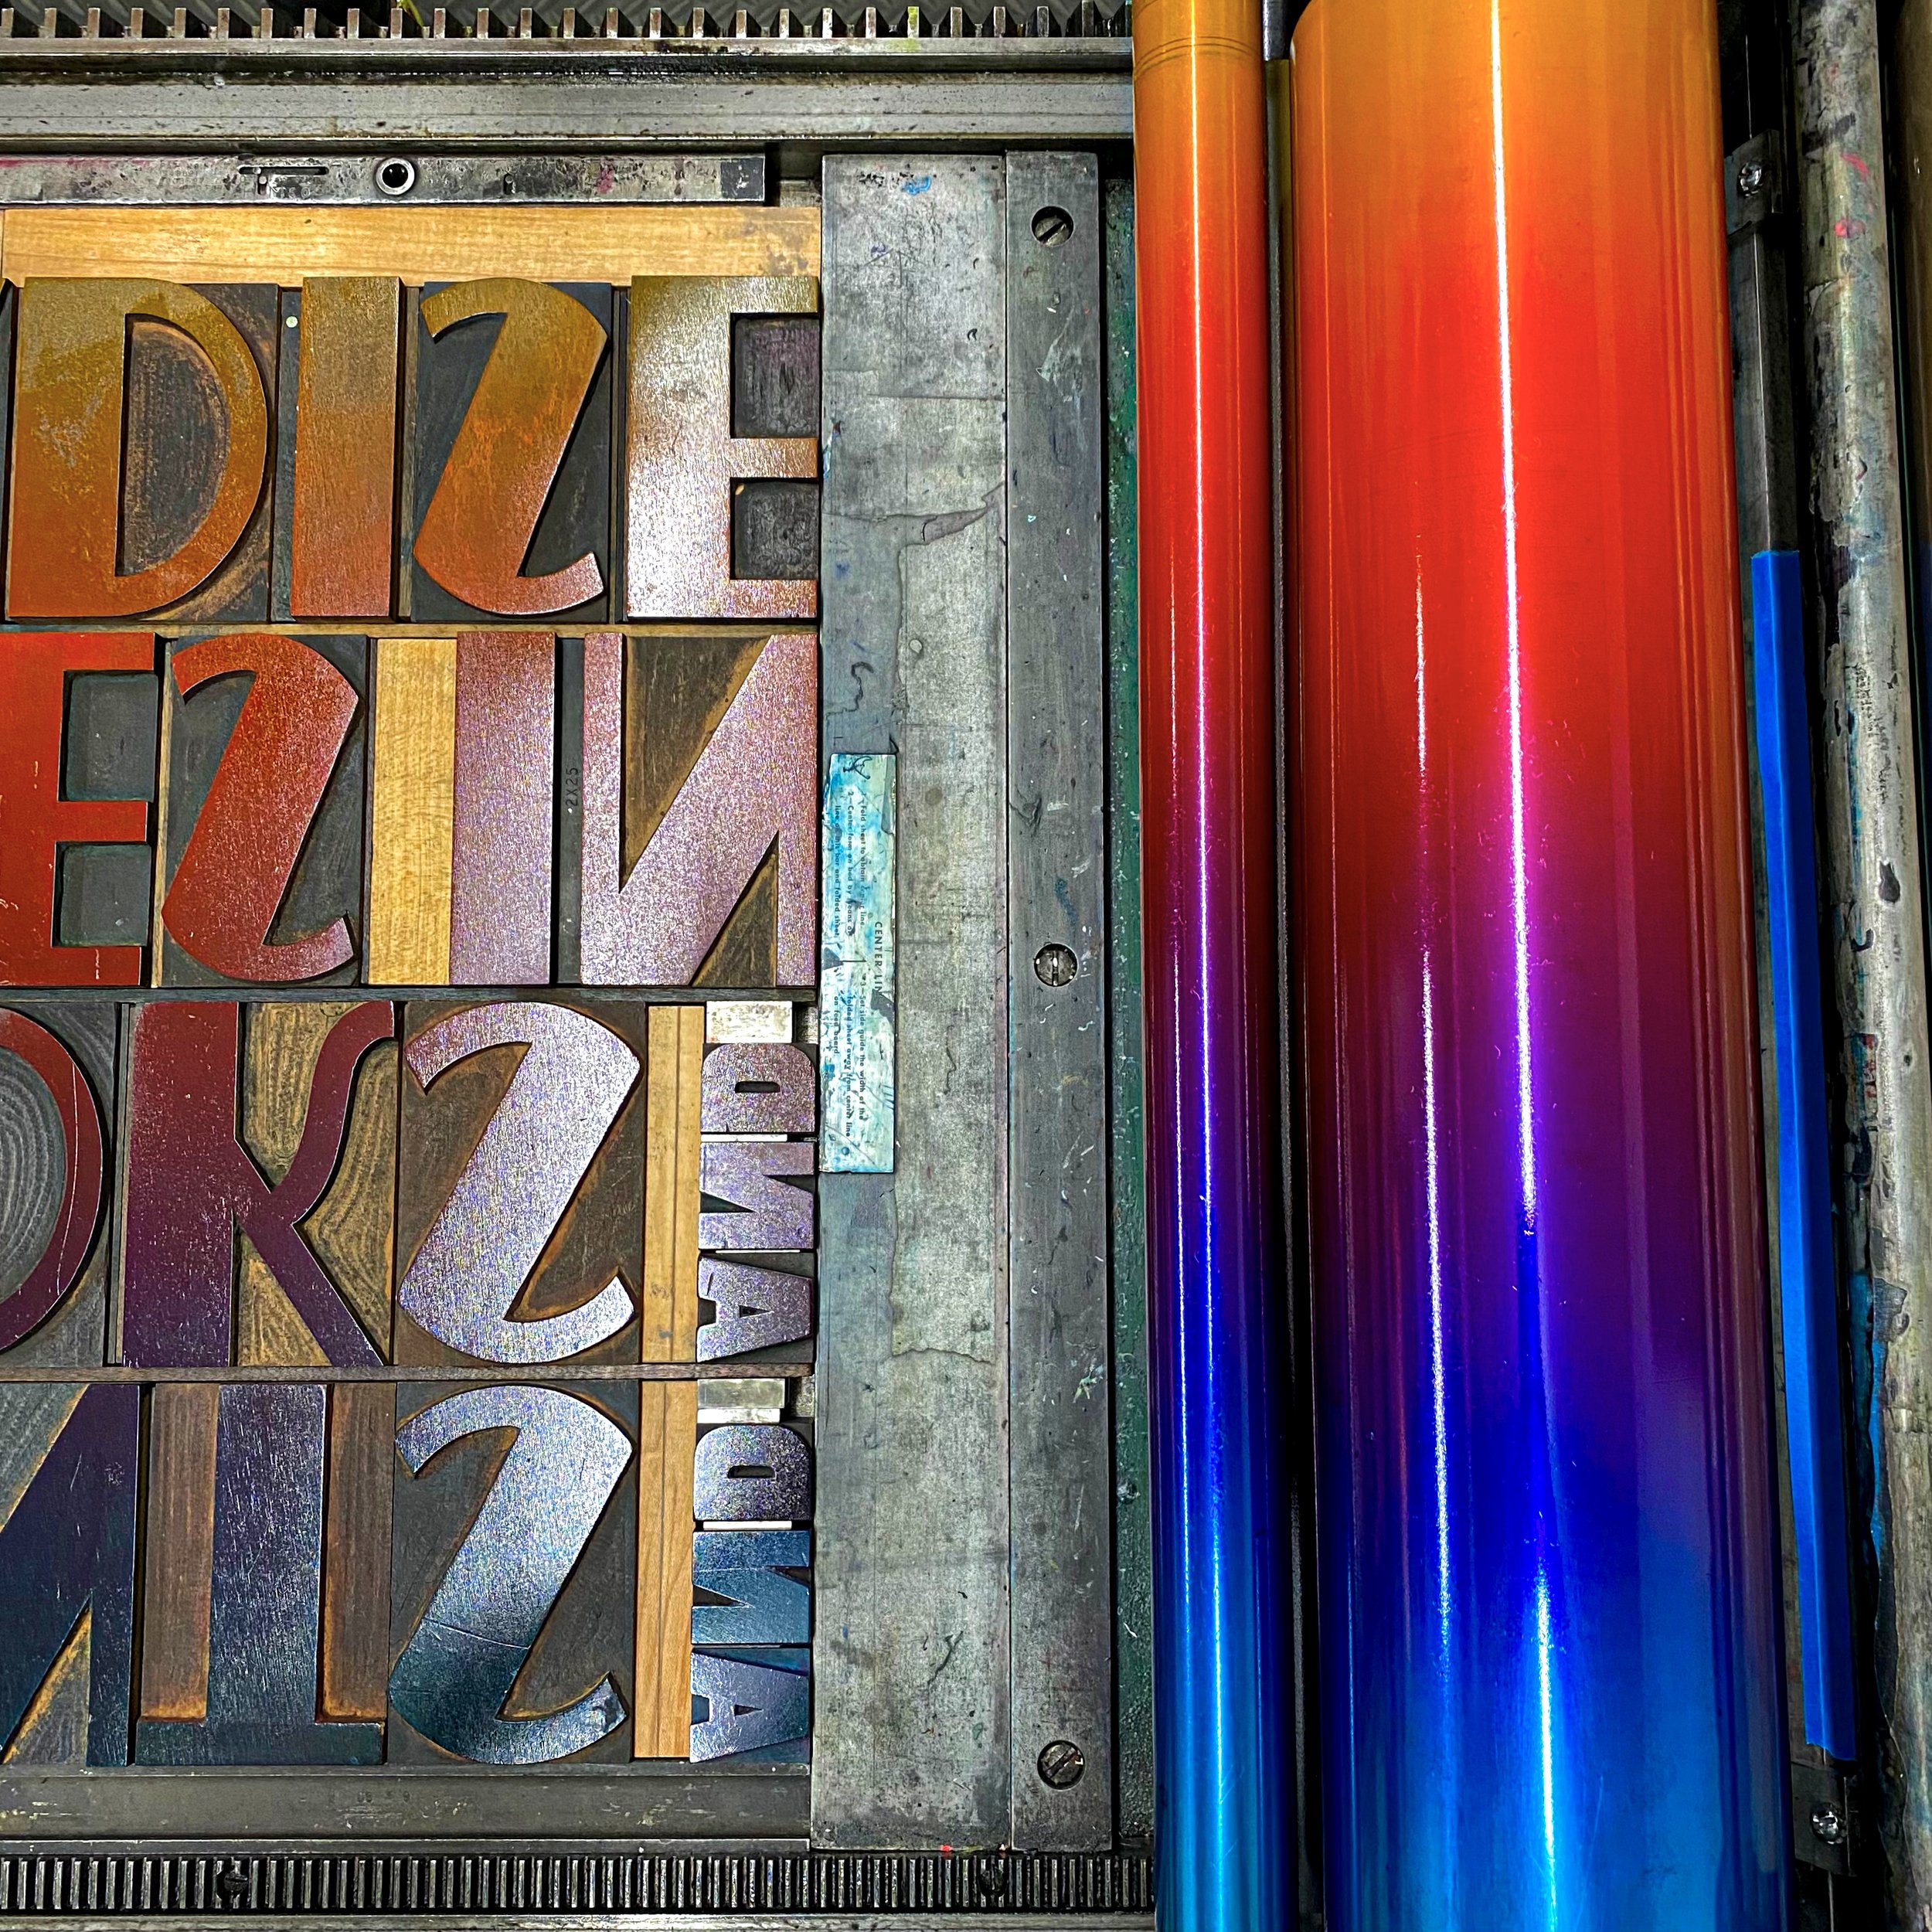
Designs are created on a computer then made into photopolymer plates for printing. A film negative is printed of your design in reverse, and then exposed on a light sensitive photopolymer. This letterpress plate is like a stamp and each color in a design requires a separate plate. Alternately, our large collection of antqiue wood and lead type can be used to bring your project to life just like how it was done before we had computers.
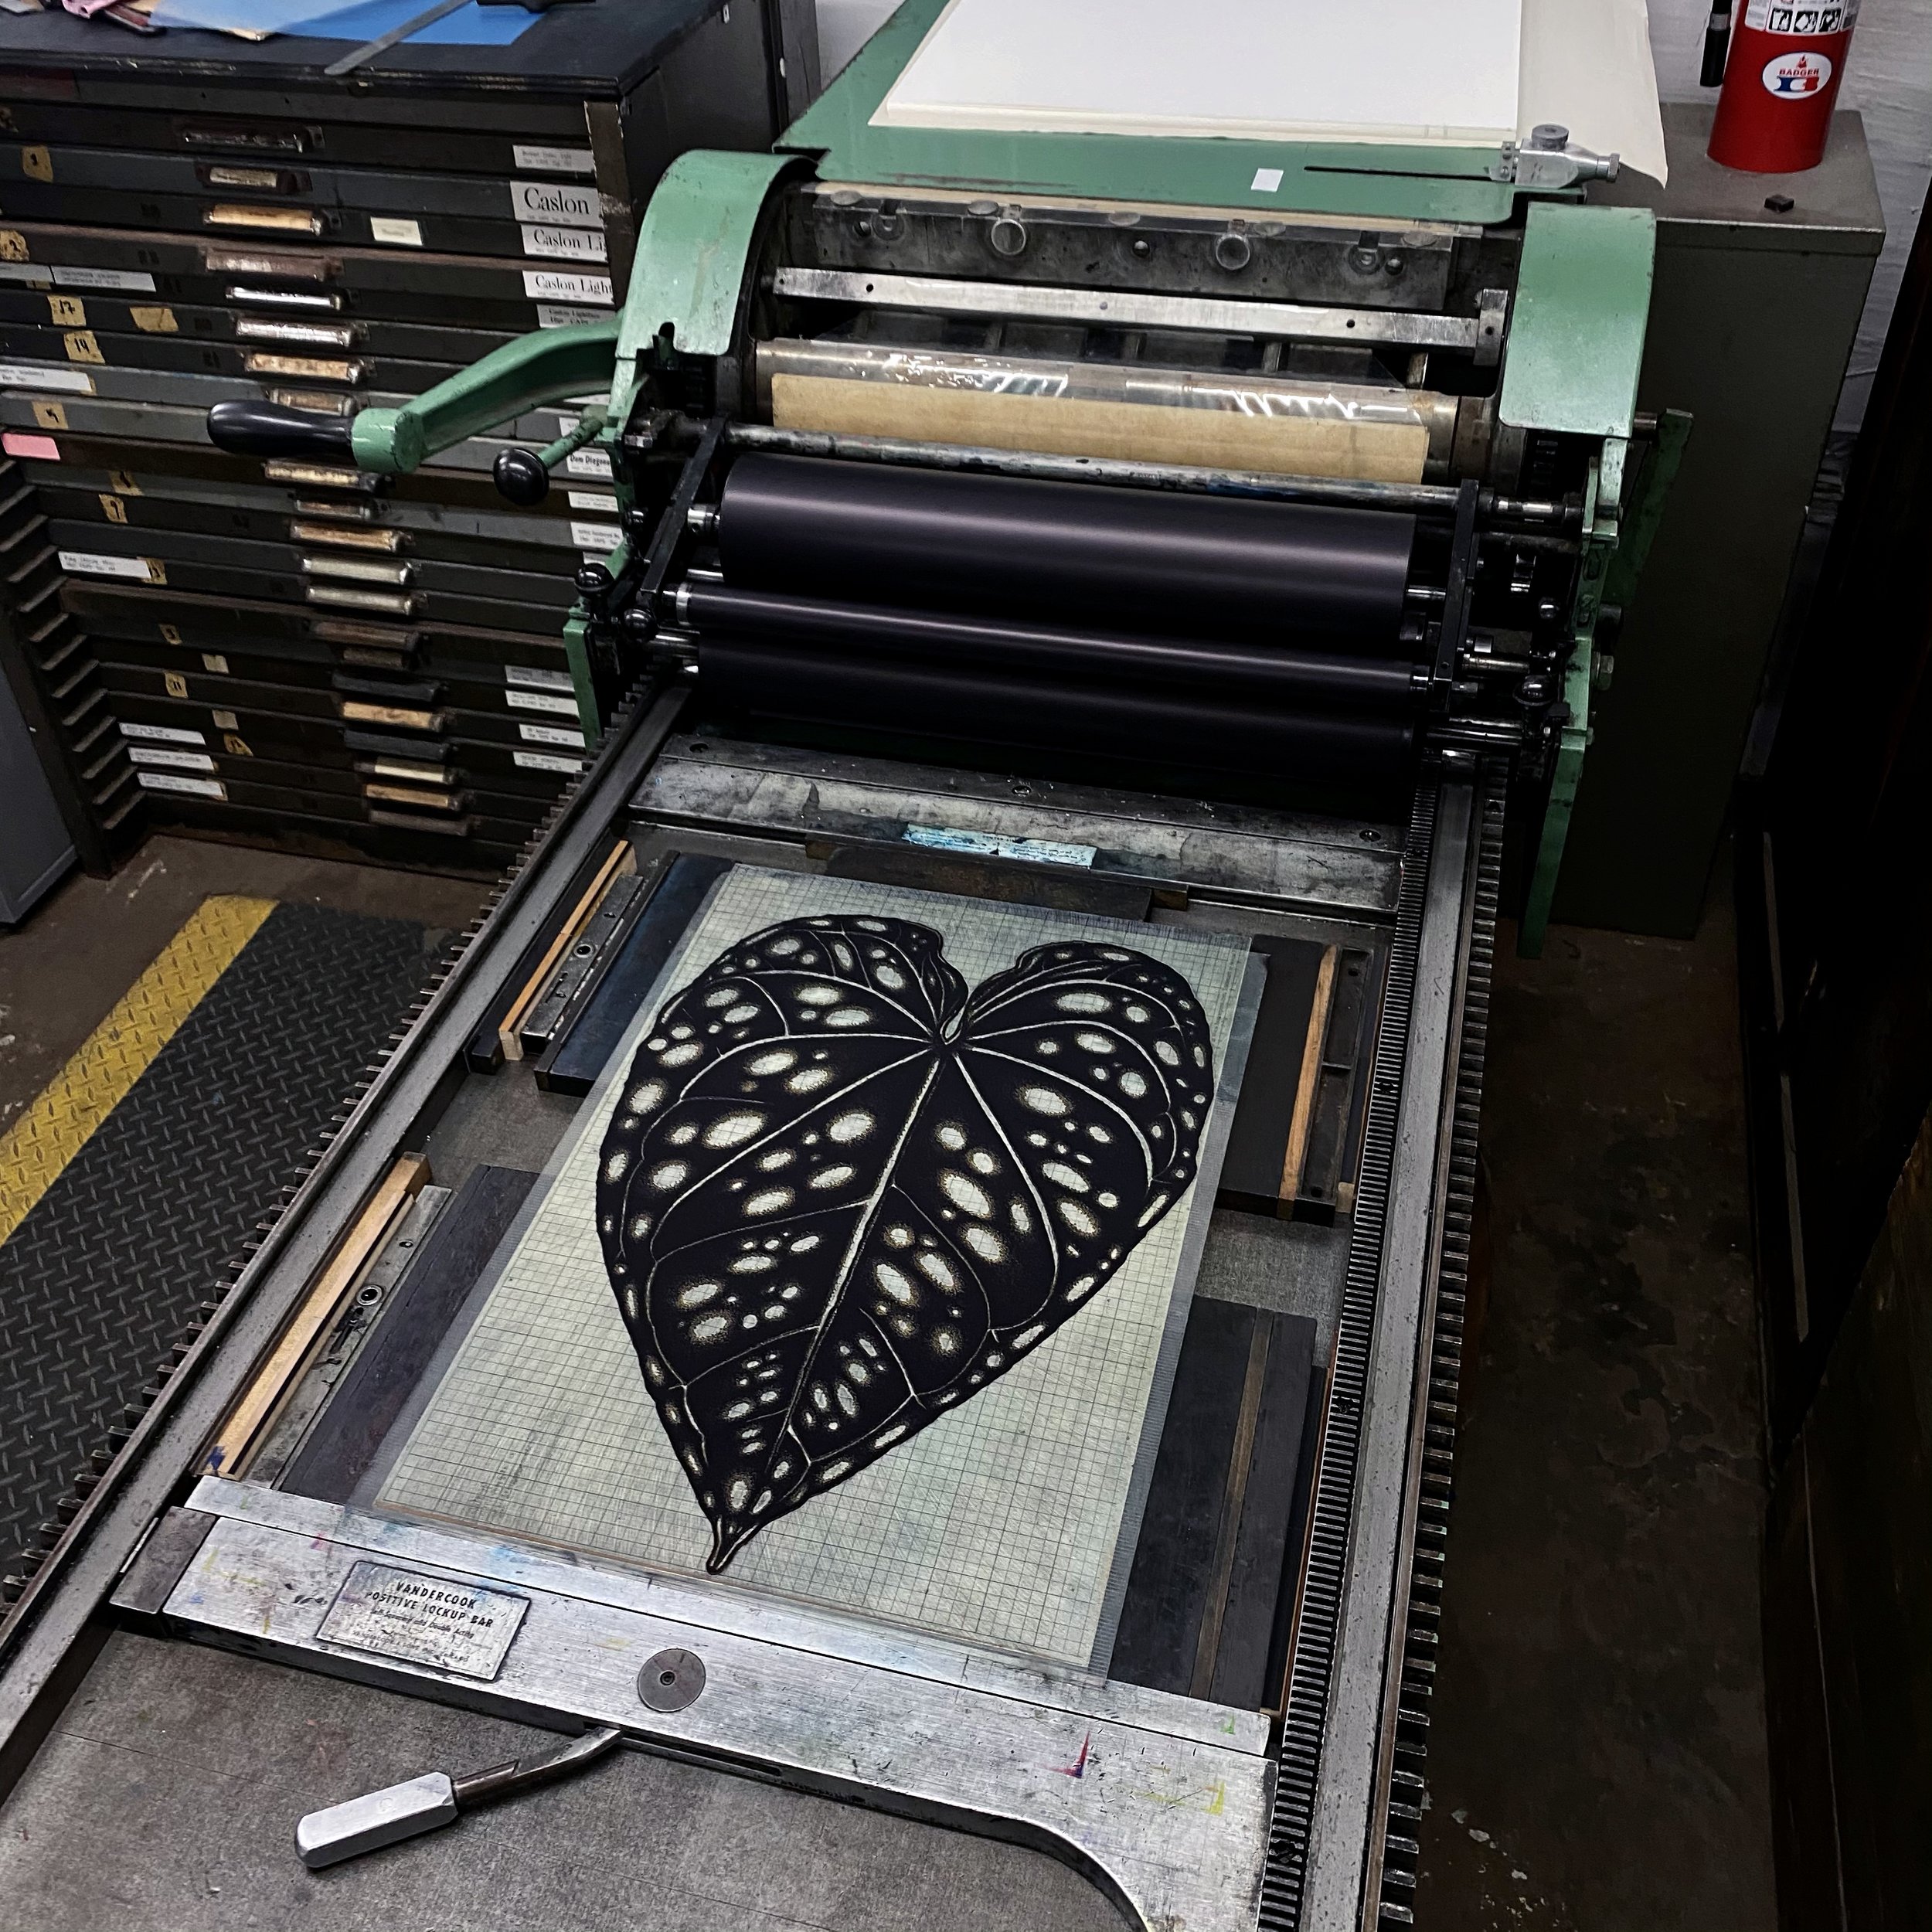
The plate is adhered to a base and locked into the bed of the antique press. Registration lines and guides are dialed in to align each color of your design just right.
The depth of impression is adjusted by adding or removing packing on the cylinder. When we’re printing on extra thick papers we like to punch it in. When we’re printing double sided projects we finesse the pressure just right to give it punch while keeping it from pushing through to the other side!
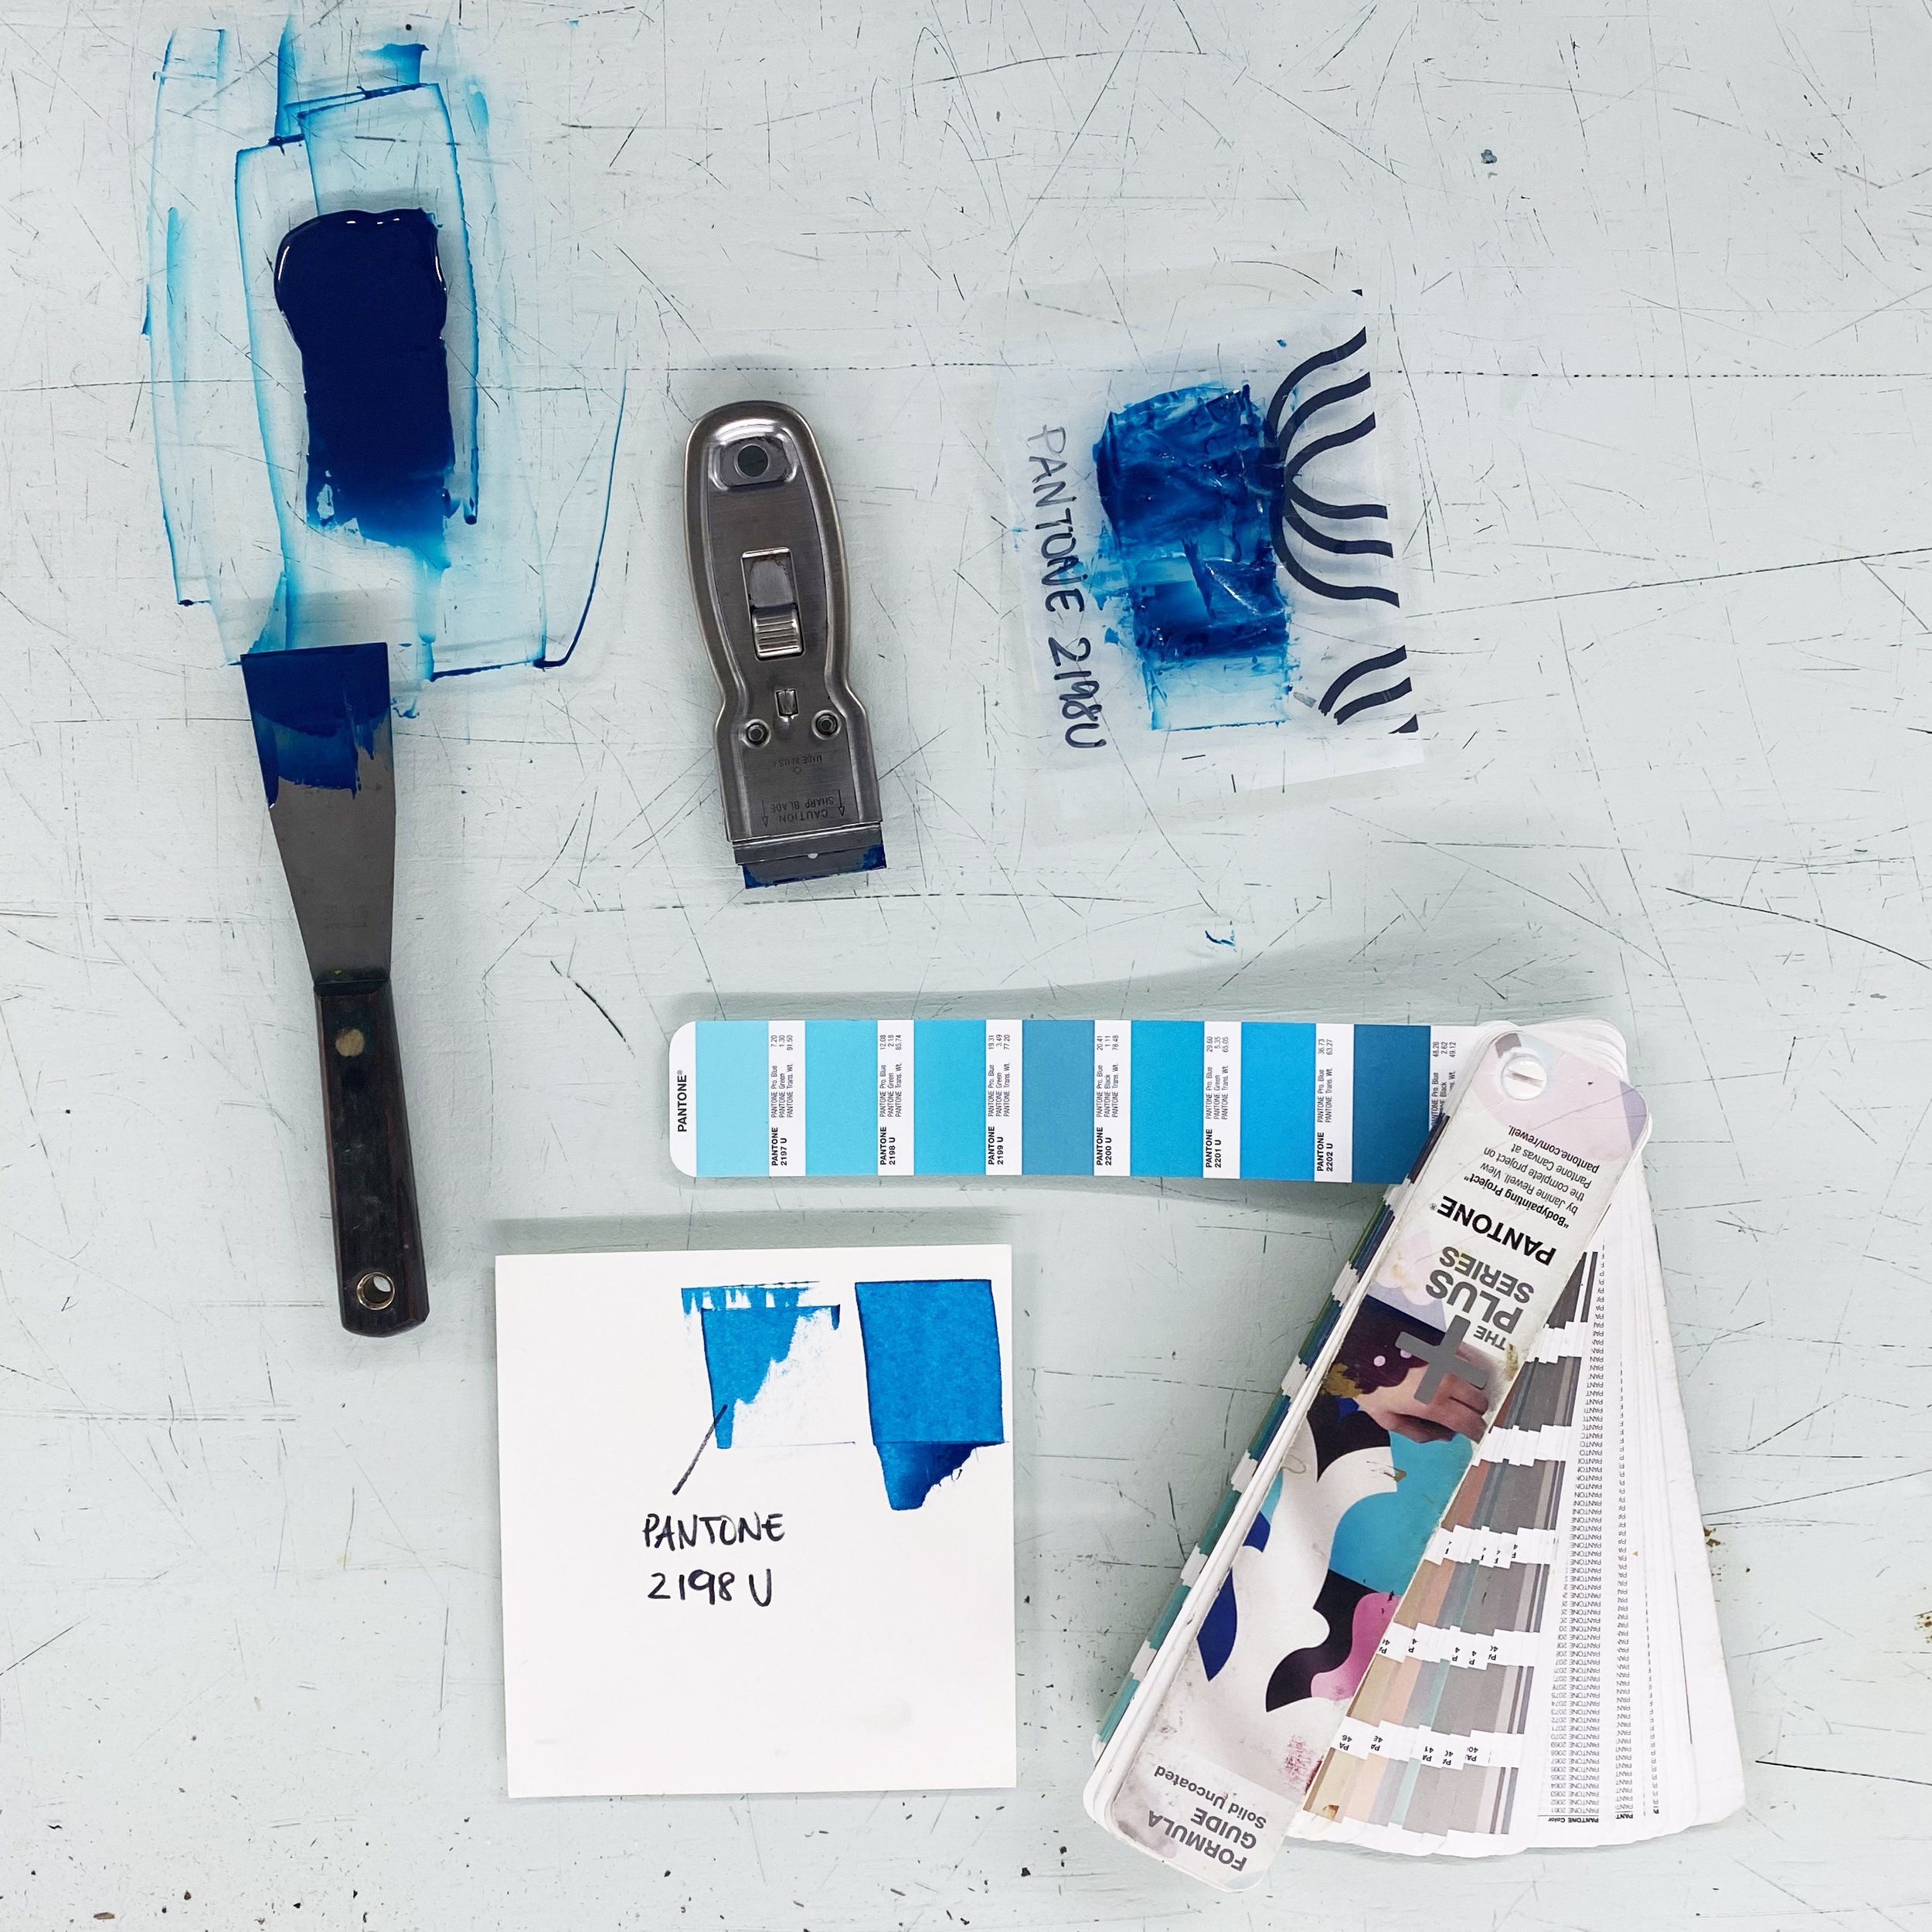
Ink is mixed by hand in house and added to the press’ ink rollers. Letterpress only allows for printing of one color at a time (except for gradients) meaning each color requires a separate plate and an additional run through the press (even the layers with no ink!)
Individual sheets are fed through the press by hand one at a time. Throughout the print run, the printer pays special attention and regulates the ink consistency, alignment or any other surprises that can come up when working with a handmade process on vintage presses.


Screen Printing
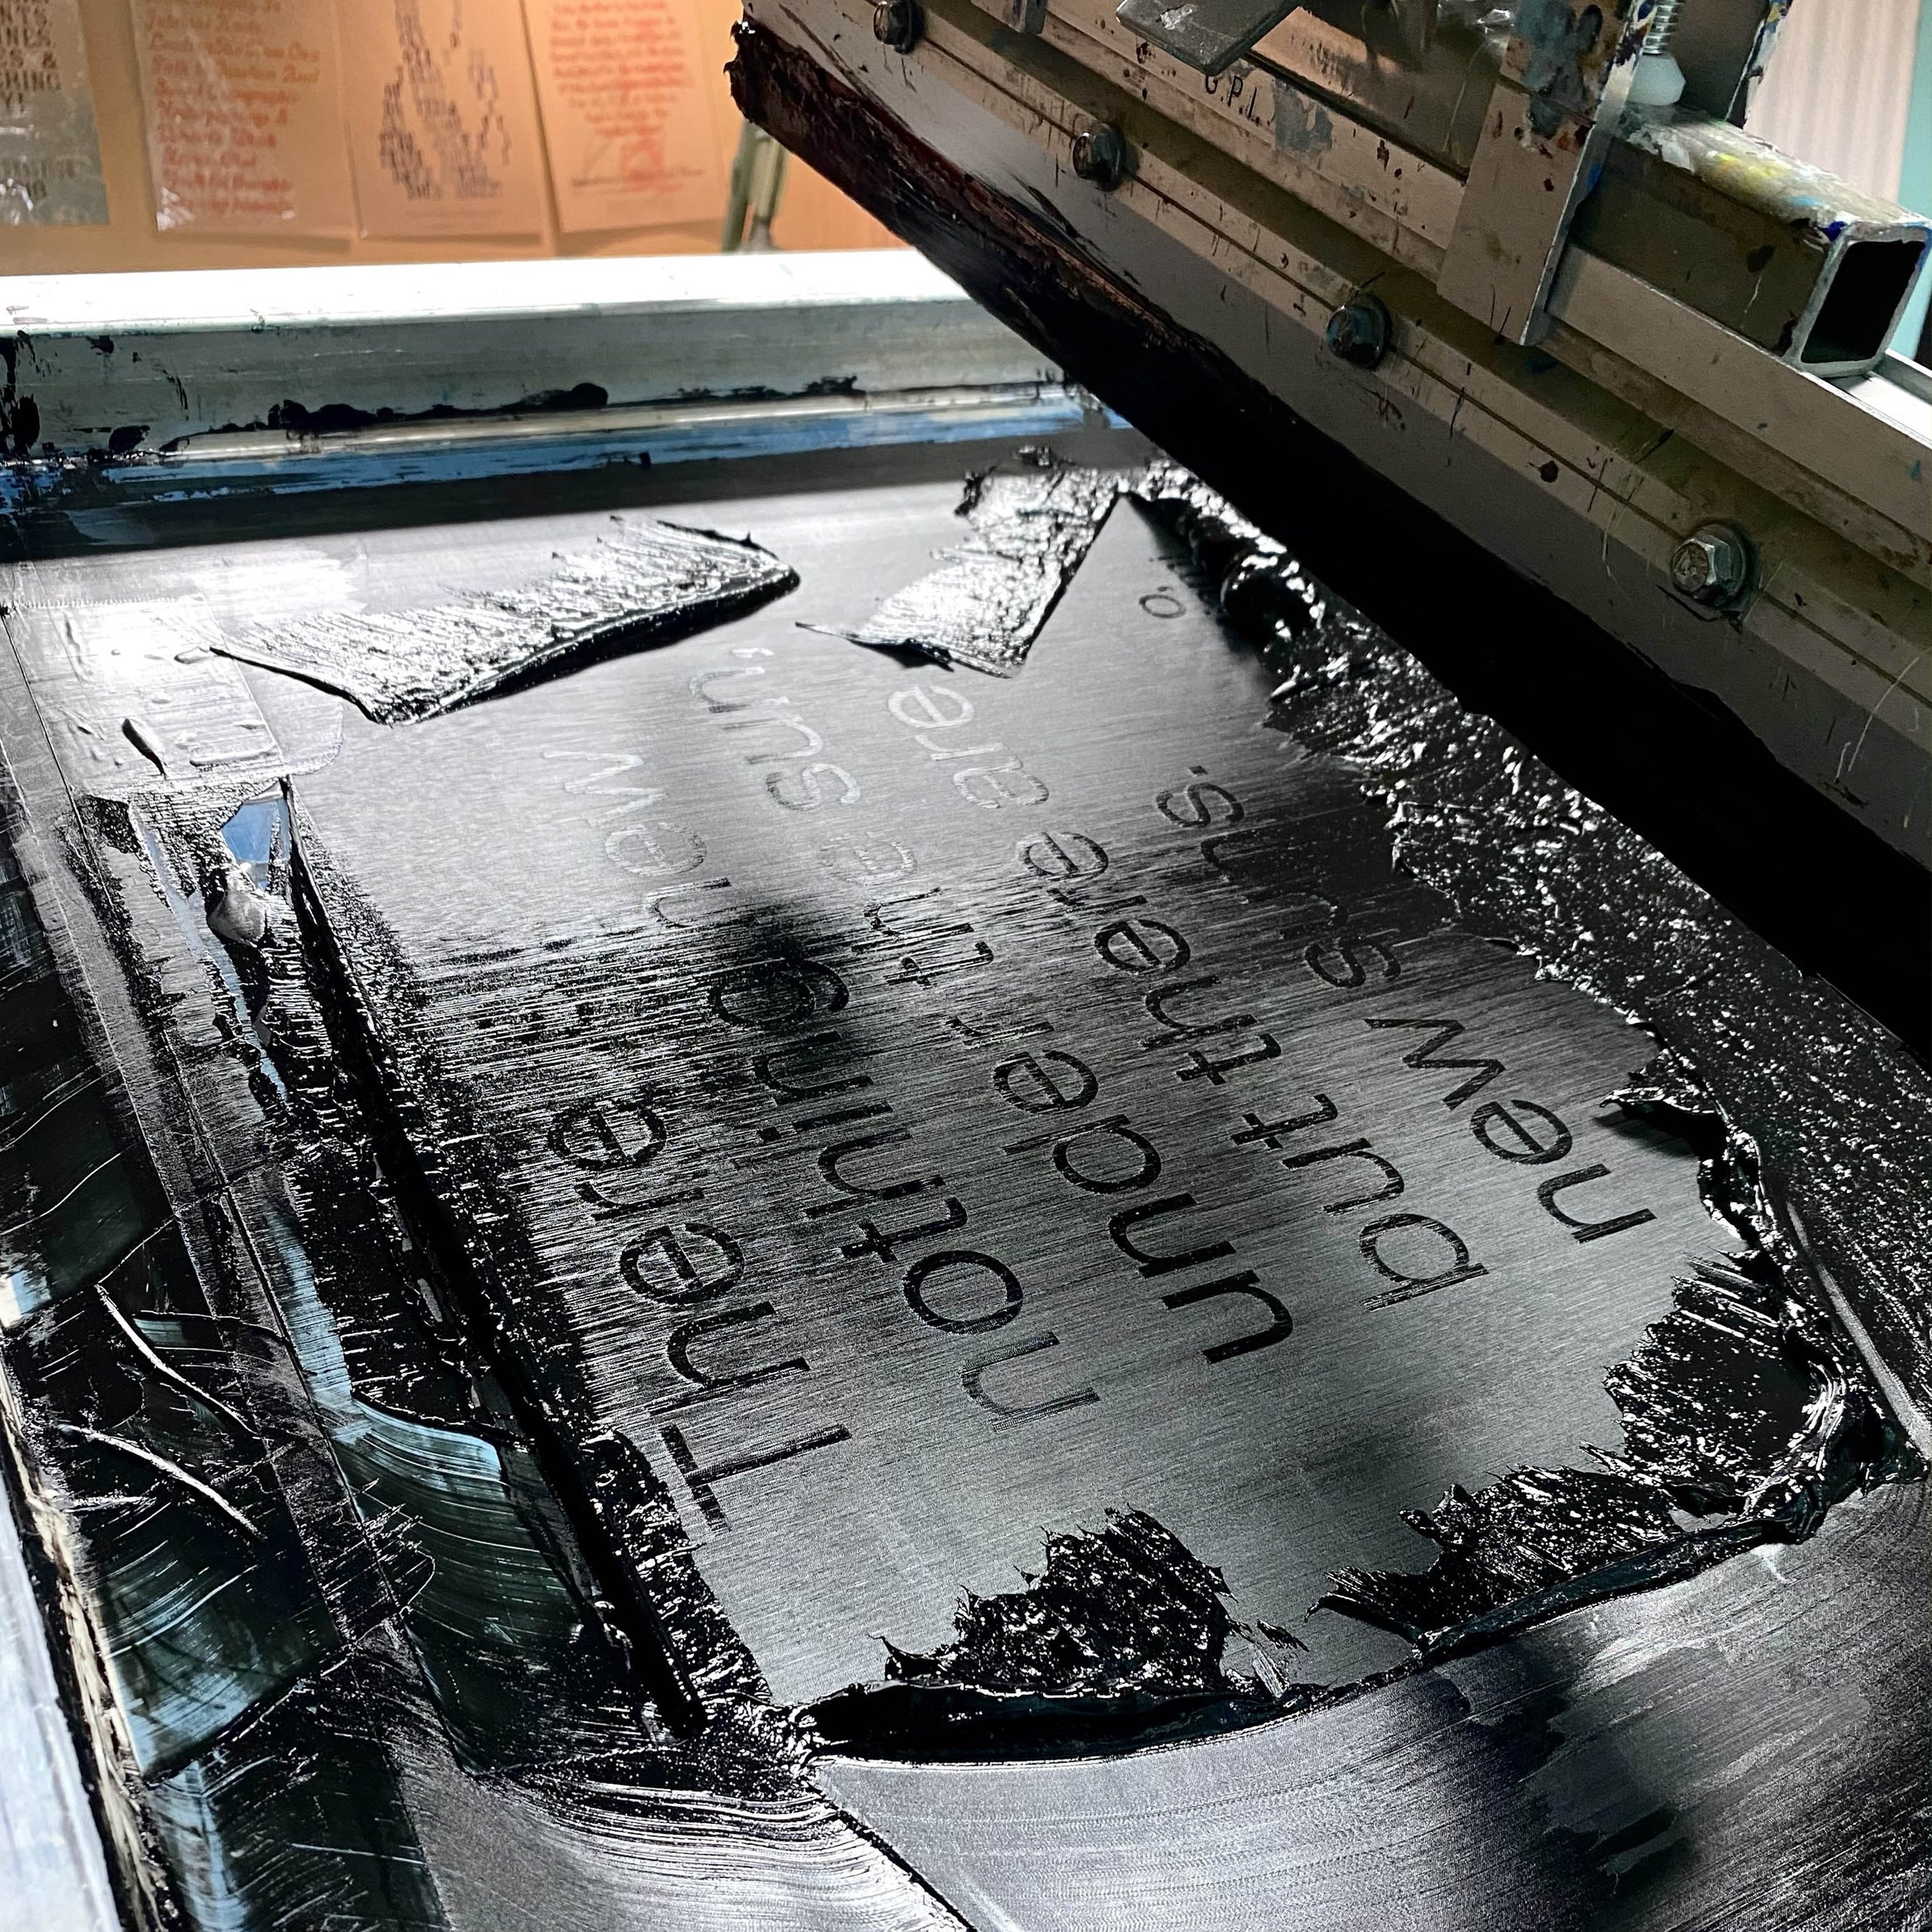
Each color in the design is separated digitally and printed onto film then burned to a screen that has been coated with light sensitive emulsion. By exposing the screen to UV light, the emulsion is hardened into a stencil that allows ink to pass through where color appears on the design and keeps the ink from printing where it doesn’t belong.
The screen is then locked into place with hinges on one of our printing tables or graphic presses. These hinges ensure that the screen will come down in the same spot each time it is lifted. The paper is placed under the screen and lined up with registration guides on the table so each color is printed onto the exact same spot on each print in the edition.
Ink is mixed by hand in house and added to the top of the screen. The ink is pushed through the open sections of the screen with a stiff rubber squeegee. Screen printing only allows for the printing of one color at a time (except for gradients) meaning each color requires a separate screen and an additional run through the press.
Individual sheets of paper are placed under the screen by hand one at a time. Special attention is paid to each print and the print specialist regulates ink consistency and image alignment throughout the run to ensure that the prints meet our strict standards.